
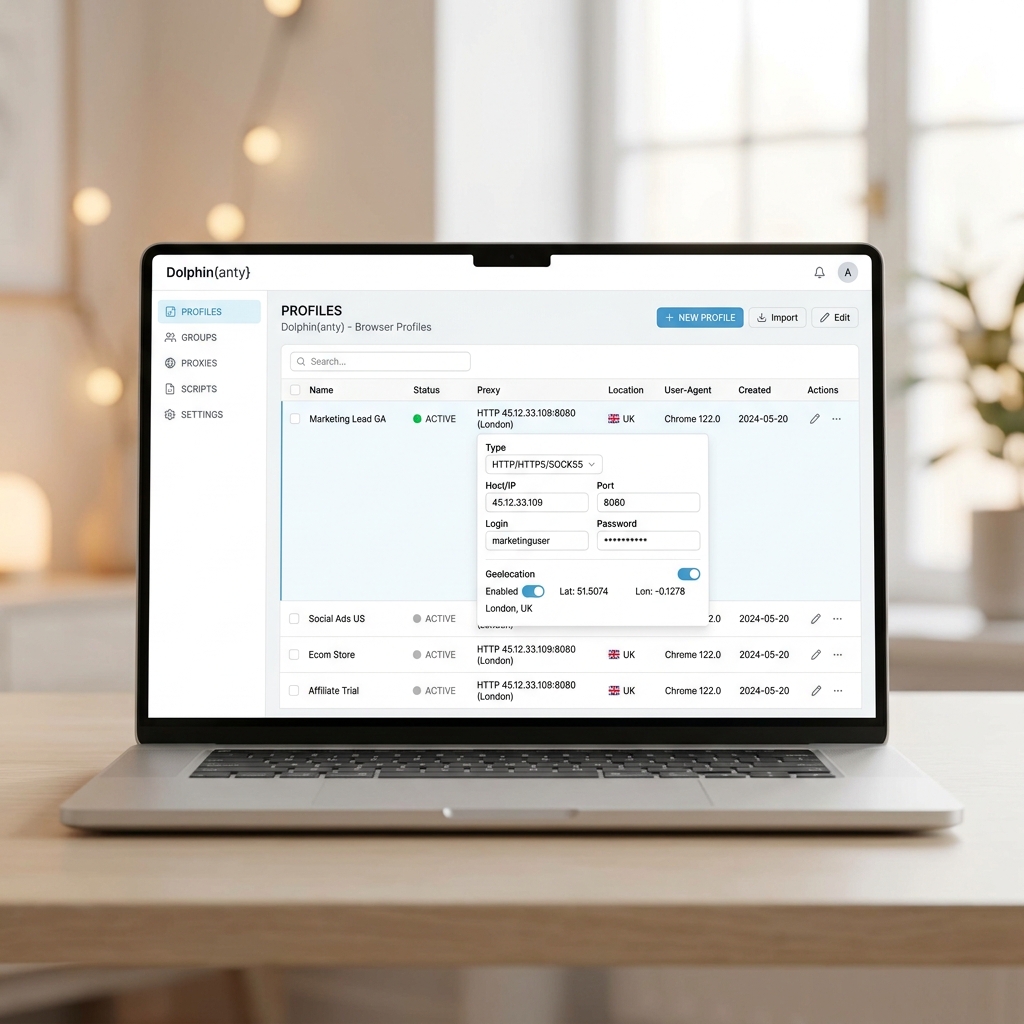
Introduction to Dolphin{anty} and Proxies
Dolphin{anty} is a state-of-the-art anti-detect browser designed primarily for team-based digital marketing, affiliate campaigns, social media marketing (SMM), and crypto multi-accounting. It allows marketers to control all aspects of browser fingerprints (user-agents, canvas noise, audio APIs, processor cores, screen resolution, and media devices) to operate completely isolated profiles on a single computer.
To avoid profile correlation, every single browser profile must run through an independent network connection. Routing Dolphin{anty} profiles through **Turbo Proxy**’s residential and mobile proxy pools ensures that target sites see requests originating from unique, high-trust IP addresses located in home ISP ranges.
Prerequisites
Acquire your proxy credentials from your Turbo Proxy User Panel:
- Proxy Gateway:
gate.turboproxy.online - Port: e.g.,
7000 - Username: Your custom username
- Password: Your proxy account token
Step-by-Step Configuration in Dolphin{anty}
Step 1: Open Dolphin{anty}
Launch the Dolphin{anty} application on your computer and log in. In the left navigation menu, click the **"Create Profile"** button (represented by a "+" icon at the top of the profile list).
Step 2: Profile Metadata
Enter a profile name. You can assign custom tags (e.g., "Google Ads", "TikTok Account") to help organize your profiles. Select the operating system (Windows, macOS, or Linux) that matches your host system to avoid structural user-agent mismatch flags.
Step 3: Select Proxy Type
In the middle column, find the **Proxy** section. Change the status from "No Proxy" to **SOCKS5** or **HTTP**. SOCKS5 is highly recommended for faster performance and remote DNS handling.
Step 4: Format Proxy String
Dolphin{anty} accepts both a structured form and a single-line proxy string format. You can paste the proxy credentials directly in the following format:
Dolphin will automatically parse this string and fill out the server, port, username, and password fields.
Step 5: Connection Testing
Click the connection test button (represented by a play/refresh icon next to the proxy string). Dolphin will communicate with the proxy.
Once validated, it will show a green checkmark indicating a successful connection, along with the IP address geolocation country, state, city, and ISP name.
Step 6: Save and Run
Click **Create** in the top-right corner to save the profile. In your profile list, find the profile and click **Start**. A new, secure, fingerprint-isolated Chromium window will open.
Troubleshooting Connection Failures
1. Error: "Proxy connection timeout"
Ensure your local antivirus or firewall is not blocking outbound connections to port 7000. If you are using mobile networks, check if custom TCP ports are allowed by your carrier.
2. Captcha Loops on Social Networks
Avoid using datacenter proxies for high-security platforms. Use **Turbo Rotating Residential** or **Rotating Mobile** proxies to inherit high-trust mobile carrier reputations and avoid captchas.